Can I Make DIY Toys For Montessori At Home?
Absolutely! When Dr. Maria Montessori developed what is now known as “the Montessori method” in the 1900s, she experimented with different toys and learning materials. (1)
You can, too.
Check if your DIY Montessori toys meet the characteristics that make them Montessori (see below). But don’t worry if you can’t make them 100% Montessori. Blended and Montessori-inspired DIY toys are also useful educational toys for kids.
What Factors Make Toys Montessori?
- Made of natural materials and based on real-life
- Open-ended toys designed for independent play
- Simple but beautiful
- Montessori toys teach one particular skill at a time
- Useful, practical, and purposeful toys
- Targeted for specific age groups (e.g., Montessori baby toys, Montessori toddler activities, toys for school-age children, etc.)
- Toys that motivate STEM learning (science, technology, engineering, and mathematics)
What Toys Aren’t Montessori?
- Plastic toys (e.g., LEGOs, etc.)
- Make-believe toys (e.g., Disney princess dolls, dragons, fairies, etc.)
- Pikler triangles and other climbing toys
Although many of these toys weren’t designed by Dr. Montessori or meet all the requirements for Montessori toys, they can still be educational toys for your children.
Many can also be considered “Montessori-inspired toys” if they meet most of the factors we listed above.
Why Is Montessori Against Plastic Toys?
Dr. Montessori preferred wooden toys because they’re heavier (closer to the natural world), more durable, and can be safer than plastic toys which might have toxic chemicals.
DIY Toys For Homeschool & Traditional Montessori Classrooms
What Are Homemade Montessori Materials & Supplies For Toddlers (Or Other Age Groups)?
You can use materials you have at home or get popular DIY supplies from ETSY, Amazon, or craft stores. Some of these can include:
Popsicle sticks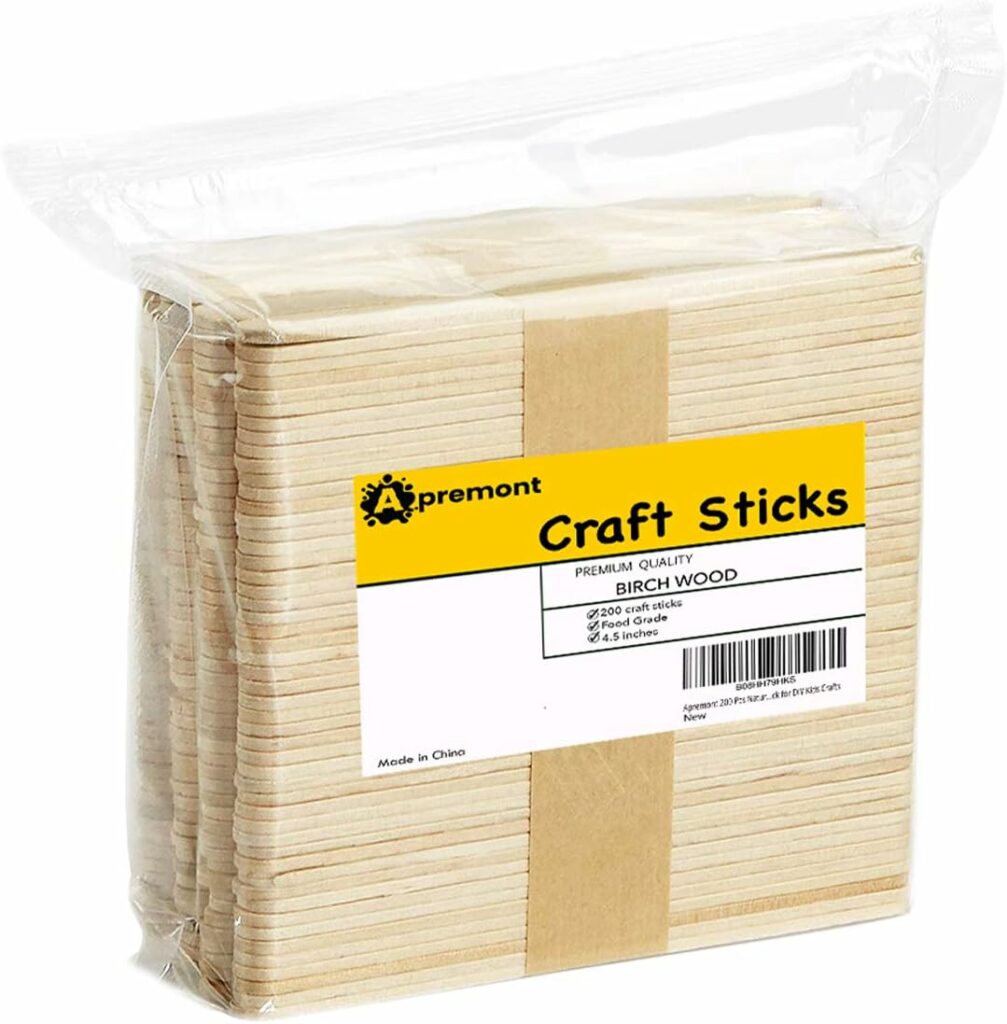


Paper Straws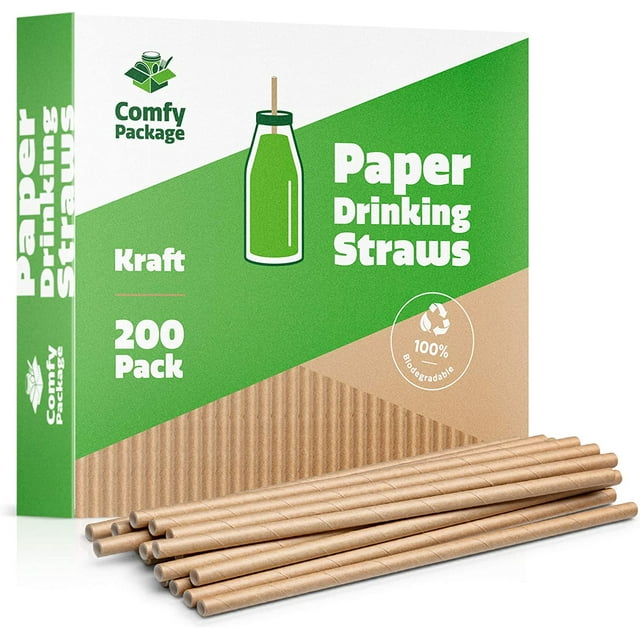
Cardboard boxes
Ribbons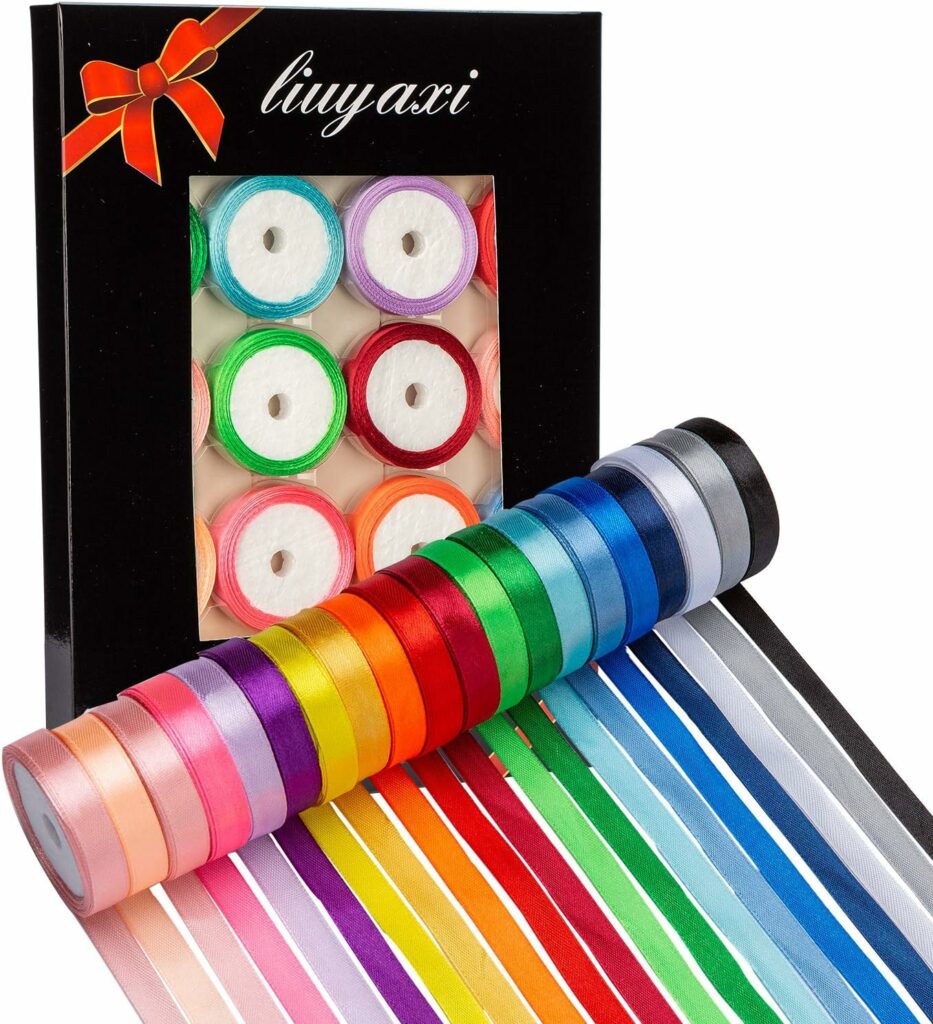
Pipe cleaners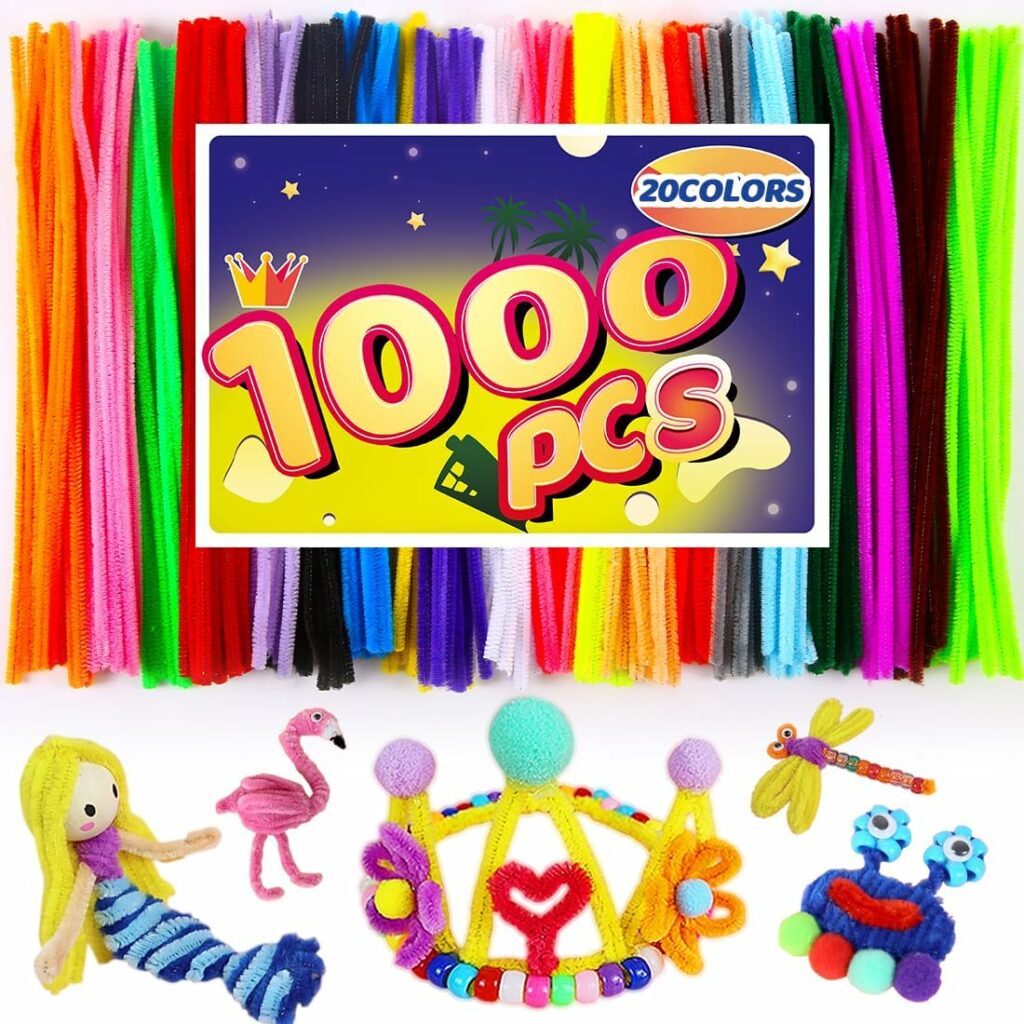
Zippers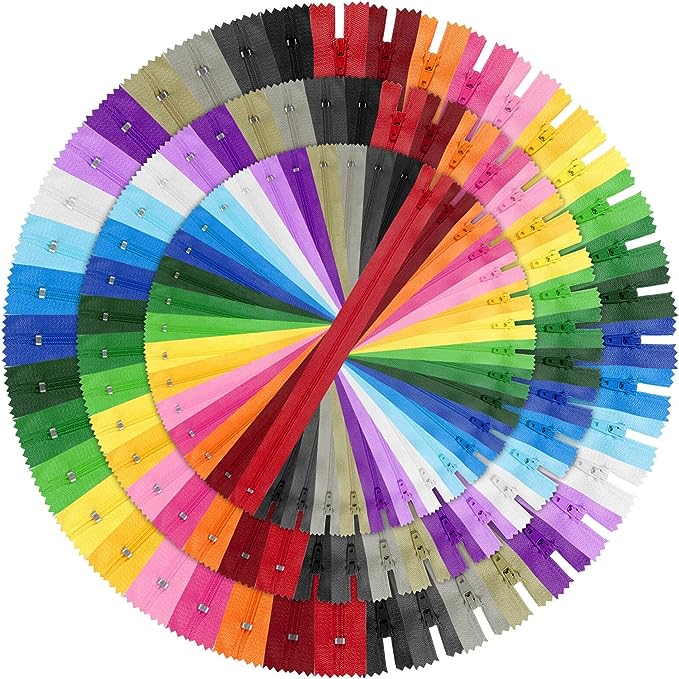
Egg boxes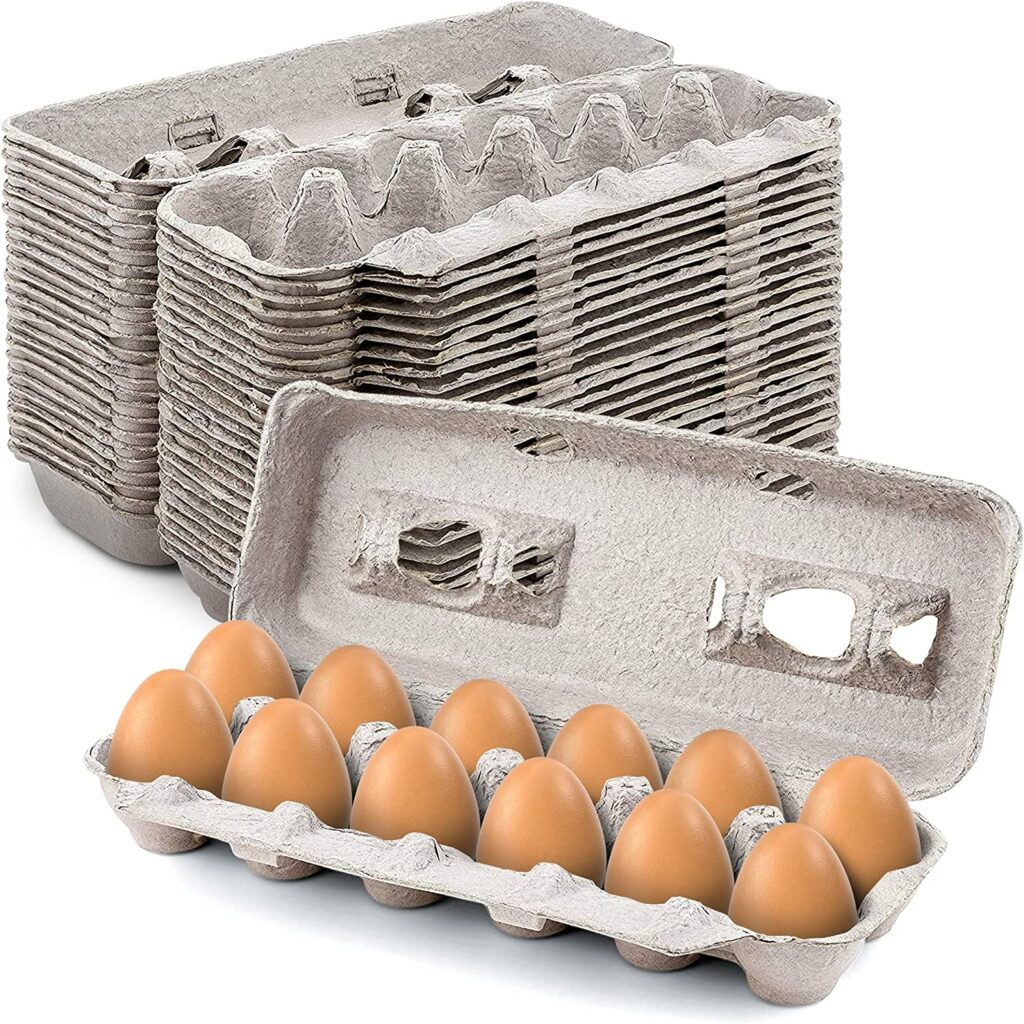
Pompoms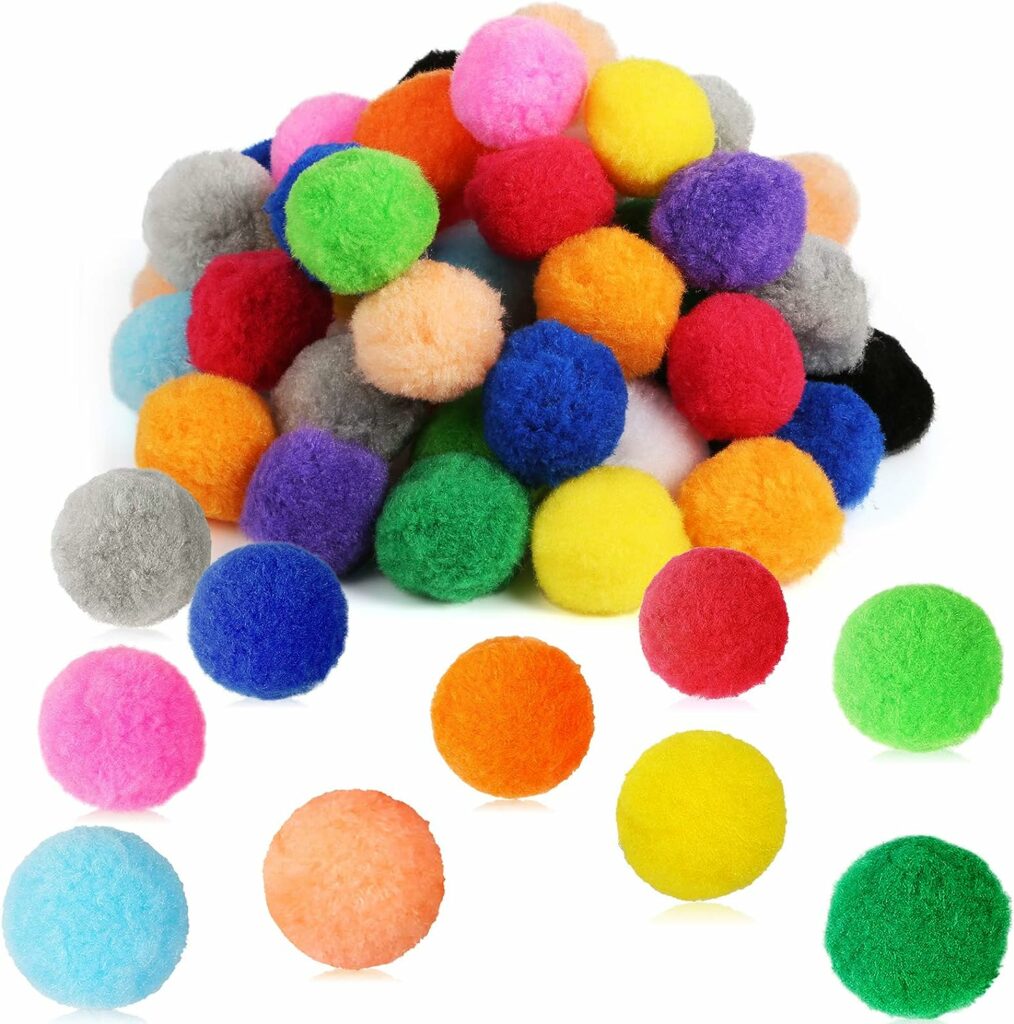
DIY wood craft sets or pieces
Bamboo Straws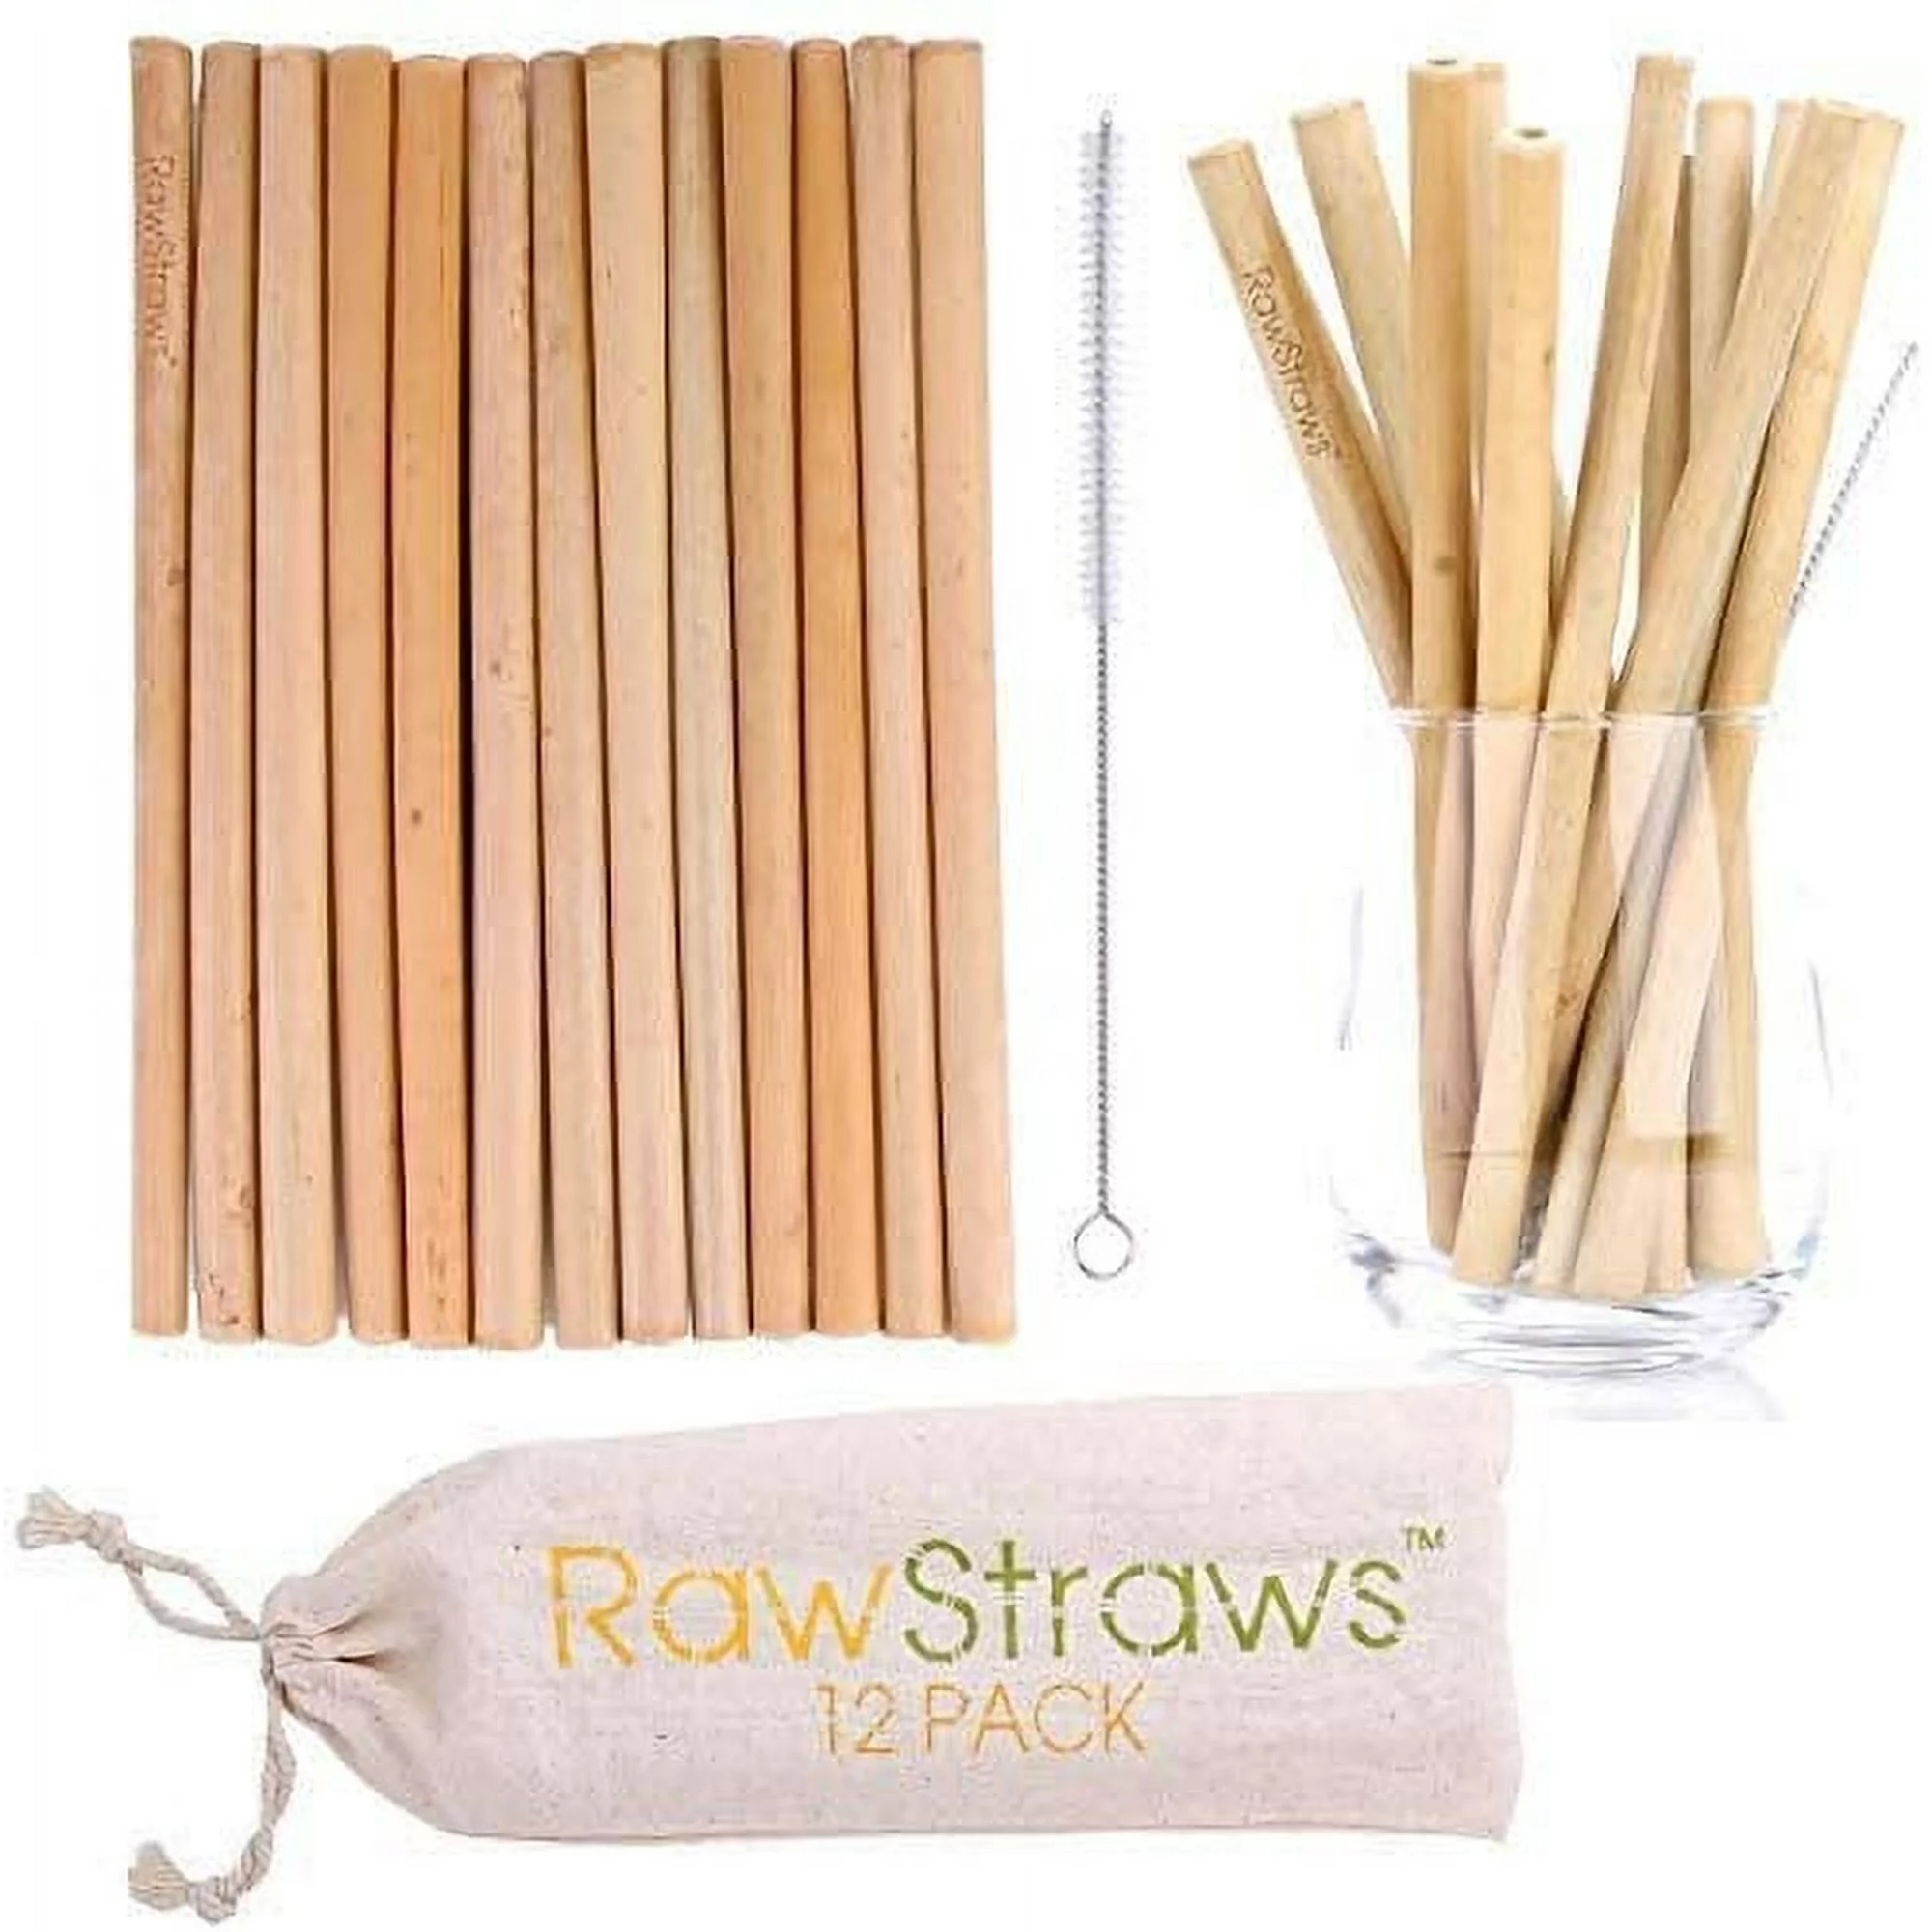
Printable DIY guides or blueprints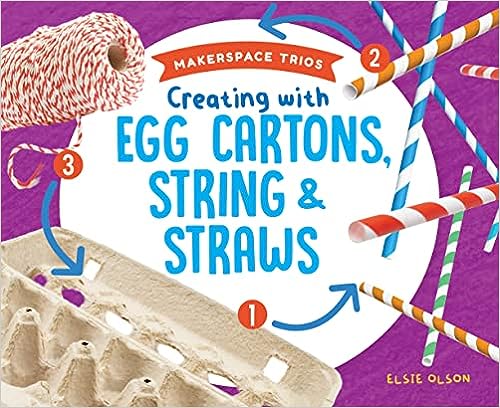
Tips & Important Concerns For DIY Montessori Toys
Safety remains the top priority when making DIY Montessori toys, especially because there aren’t any “company guidelines” or third-party labs to test your homemade products.
Keep the following in mind:
- Avoid choking or strangulation hazards (e.g., small objects, long strings, sticky and round items, etc.); toys must be at least 1 ¼ inches (3 cm) in diameter and/or 2 ¼ inches (6 cm) in length to reduce choking risks. (2)
- Thoroughly wash used containers, lids, and other items you want to upcycle as toys.
- Avoid using containers or boxes previously used to store chemicals (e.g., bleach containers) for your DIY toys.
- Check for other potential safety risks (e.g., sharp points, toxic emissions, etc.) before giving the DIY toy to your child.
DIY Montessori-Friendly Toys For Young Children
1. Egg Carton & Straws

Skills
- Hand-eye coordination
- One-pointed focus
- Concentration
- Fine motor skills
- Pincer grasp practice
Materials & Supplies
- Egg carton
- Bamboo or paper straws
Procedure
- Punch holes in the protruding sections of the egg carton.
- Provide your child with straws that they can use to insert into these holes.
Tip: You can also try other materials aside from the egg carton.
2. Puffs Container & Pompoms
![]()
Skills
- Hand-eye coordination
- Depth perception practice
- Fine motor skills
Materials & Supplies
- Empty puffs container (e.g., Serenity Kids puff containers)
- Large and non-toxic pompoms
Procedure
- Remove the label of an empty puffs container.
- Create a hole that’s enough to let the pompoms pop through.
Tip: Other snack containers can also be fine for this DIY toy.
3. DIY Stacking Toys
Skills
- Hand-eye coordination
- Problem-solving
- STEM concepts on gravity, balance, etc.
Materials & Supplies
- Mason jar lids
- Empty ribbon spools
- Empty boxes that fit your little one’s hands
- Popsicle sticks
Procedure
- Choose any or all of the materials listed above.
- Let your child discover ways to play with these toddler toys.
Tip: Keeping or storing these stacking objects in a bigger box or container is a good idea.
4. DIY Treasure & Object Permanence Box (Coins Or Balls & Drawers)
Skills
- Cognitive learning
- STEM concepts (e.g., object permanence, which means an object or thing still exists even if you can’t always see that it’s there)
- Fine motor skills
- Hand-eye coordination
Materials & Supplies
- Box or container with a drawer (you can get one from a craft store or make your own)
- Objects to insert in your box (balls or wooden craft coins)
Procedure
- Create a hole on the top of the box that can fit the objects you chose for this activity.
- Let your child explore and insert the objects through the hole.
- Once they discover how the drawer works, they’ll learn that the objects they inserted through the hole still exist inside the box.
Safety tip: Check for choking risks and avoid small objects.
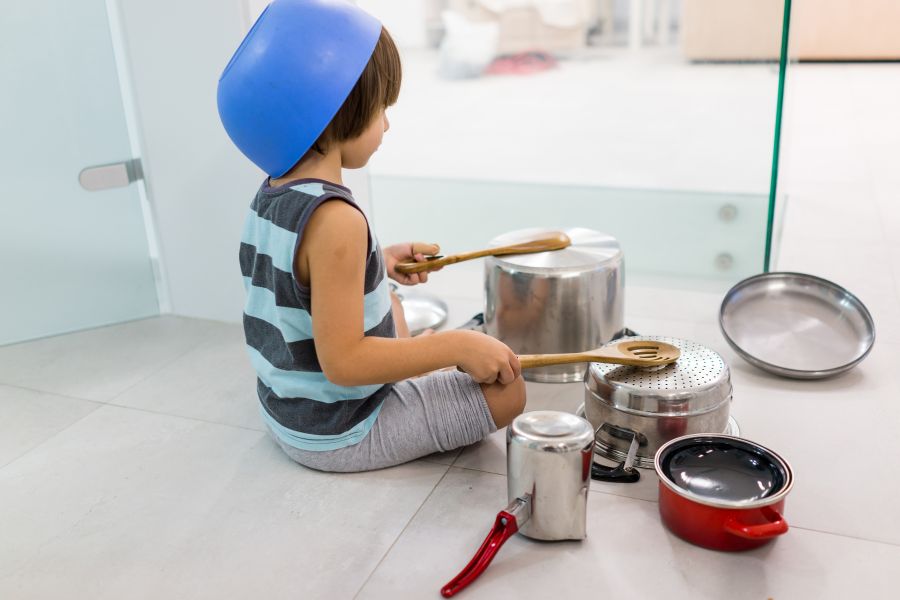
5. DIY Musical Instruments
Skills
- Musical skills
- Cognitive learning
- Gross motor skills
- Hand-eye coordination
Materials & Supplies
- Used containers (for creating drums)
- Bamboo sticks or ladles (for use as drumsticks)
- Small stainless steel pots and pans
- Cardboard boxes
Procedure
- Clean the materials and check for sharp parts.
- Put them upside down and provide your child with sticks or other materials (e.g., bamboo ladle) for use as drumsticks.
- You can also put strings across a box to create a DIY harp. However, keep the strings short to avoid choking or strangulation risks. Also, keep this out of reach of children younger than 12 months old.
6. Object In Cup Or Basic Insert Toy
Skills
- Problem-solving
- Fine motor skills
- Hand-eye coordination
Materials & Supplies
- Empty container or small cup
- Egg boxes or cups
- Wooden egg toy or ball
Procedure
- Clean the egg box or container.
- Show your child the egg toys or balls and let them discover that the objects can fit inside the container or box.
Tip: The object doesn’t have to be an egg or a ball. It can be anything that can fit a container, and your child can put in and take out.
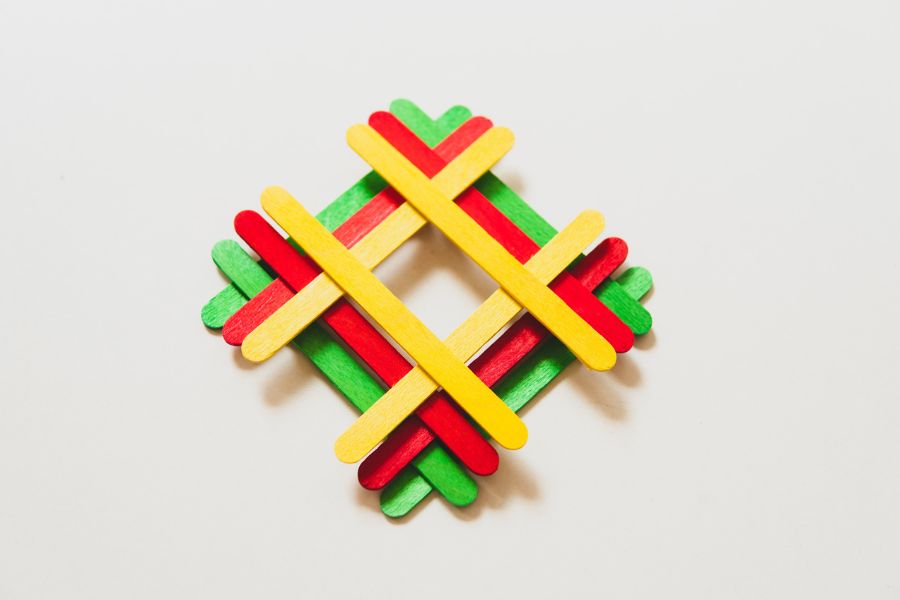
7. DIY Montessori Math Spindle Box
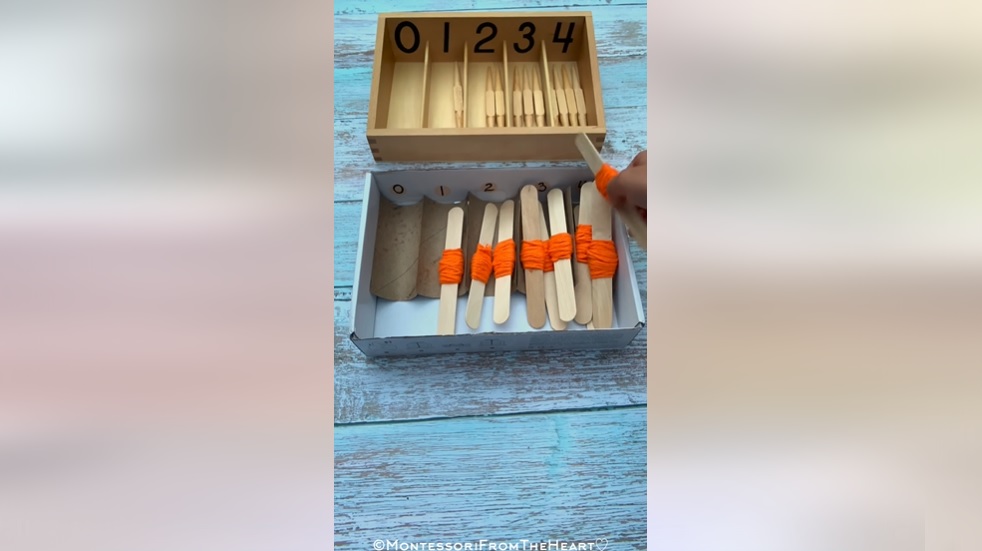 (source: Facebook / @MontessoriFromTheHeart)
Skills
- Montessori math skills
- Pincer grasp
- Cognitive skills
Materials & Supplies
- Spindles or popsicle sticks
- Cardboard boxes
- Markers
- Non-toxic coloring materials (if you want to color the popsicle sticks)
- Glue
Procedure
- If you’re making cardboard boxes from scratch, you can create a form with an open top.
- If you’re upcycling used boxes, you can simply cut off the top and one of the narrower ends.
- Create 10 cardboard boxes, and line them up (similar to the formation of the money box in a cash register).
- Label the boxes from “0” to “9.”
- Provide your child with 45 popsicle sticks. You can choose colored popsicle sticks or color some, but uncolored sticks are also fine.
- Let your child sort the correct number of sticks into the labeled boxes.
8. Color & Shape Sorter Box
 (source: instagram.com / @littleoneslearn)
Skills
- Color and shape recognition
- Problem-solving skills
- Hand-eye coordination
- Fine motor skills
- Pincer grasp
Materials & Supplies
- Empty box or container
- Wooden blocks or cubes, plywood, or thick cardboard
- Toys of different shapes
- Non-toxic coloring materials
Procedure
- Using wooden blocks or cubes, create different 3D shapes. This toy requires some woodworking skills, but you can also use plywood materials or thick cardboard to create 2D shapes.
- Cut out shapes on the empty box or container, making sure that the matching shape pieces can easily fit the shapes you made or the toys you collected.
- You can also use non-toxic coloring materials for the shapes and their matching holes.
Tip: You can also use wooden shapes from a regular toy set and simply create a puzzle container or box.
9. Color Sorter Toy
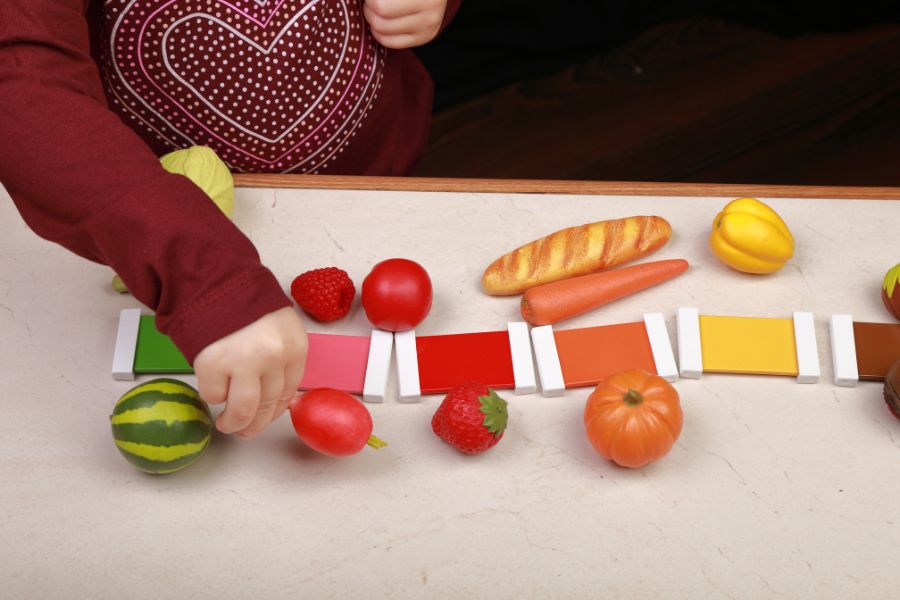
Skills
- Color matching
- Cognitive learning
- Pincer grasp
- Problem-solving
- Fine motor skills
Materials & Supplies
- Boxes or containers in different colors (a muffin tin can also be useful, but check for sharp parts)
- Objects that match these boxes or containers (you can choose crayons, fruits and veggies, colored popsicle sticks, etc.)
Procedure
- Arrange the colored containers in a row. Some parents try to follow the rainbow (ROYGBIV – the colors in order: red, orange, yellow, green, blue, indigo, and violet) configuration, but you can also opt to arrange the containers in random order. The important thing here is color recognition and sorting, not the correct order.
- Put the sticks, crayons, or other colored objects in a box or tray.
- Encourage your child to find the right containers to sort the colors into.
- Start with the main colors linked to the containers. You can add other color variations as your child understands more about the color concepts. For example, you can add carnation pink and fuchsia pink objects for the pink container.
10. Peg Sorter Toy
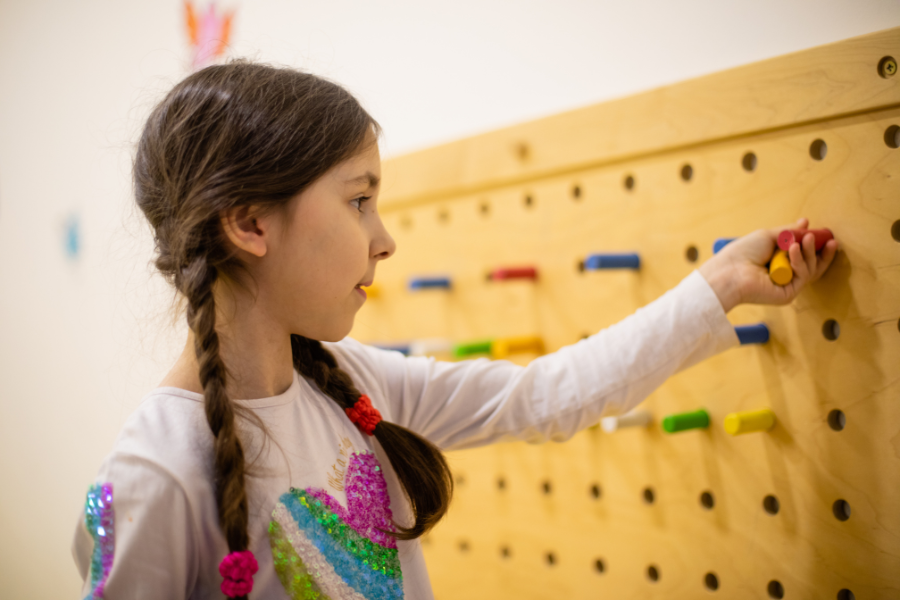
Skills
- Cognitive skills
- Color-matching
- Fine motor skills
- Hand-eye coordination
Materials & Supplies
- Wooden pegs
- Peg board
- Non-toxic coloring materials
- Wooden tray or shallow box
- Glue
Procedure
- Use a peg board, create stands for the pegs on the tray, or make holes in the shallow box. Be wary of choking risks if you create makeshift stands for the pegs.
- You can also color the stands to upgrade this peg sorter into a color sorter toy.
- Let your child enjoy matching the pegs on the color-coded tray or peg board.
Tip: You can also use an egg carton for this DIY toy.
11. Size Sorter Toy
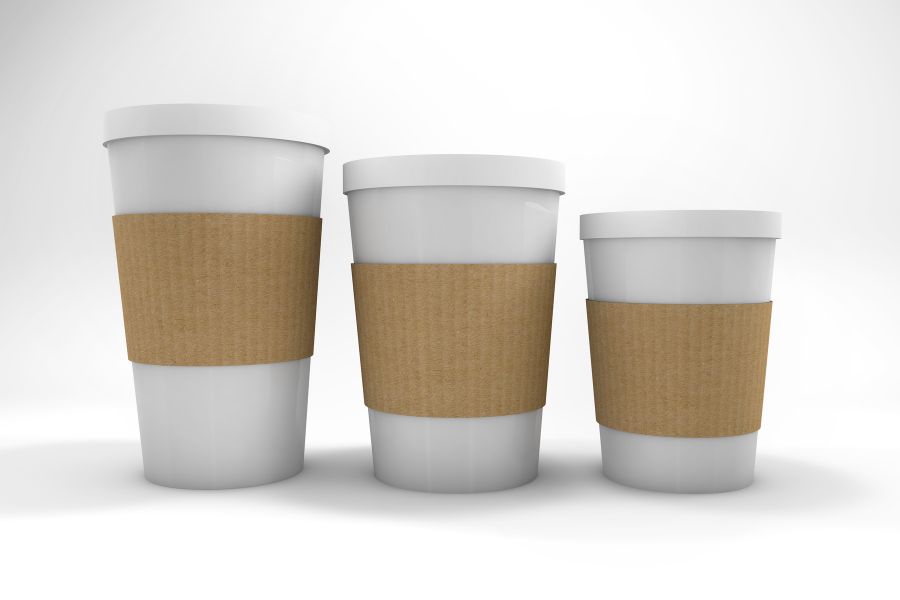
Skills
- Hand-eye coordination
- Cognitive skills
- Problem-solving skills
- Size recognition
Materials & Supplies
- Tray or shallow box
- Things that come in different sizes (e.g., cups, cutlery, measuring cups or spoons, hard vegetables such as potatoes or ginger, etc.)
Procedure
- Check the materials for choking risks or sharp parts. If you’re using vegetables or fruits, be sure to get them cleaned up and dried before letting your child play with them.
- Ask your child to arrange the objects according to size on a tray or shallow box.
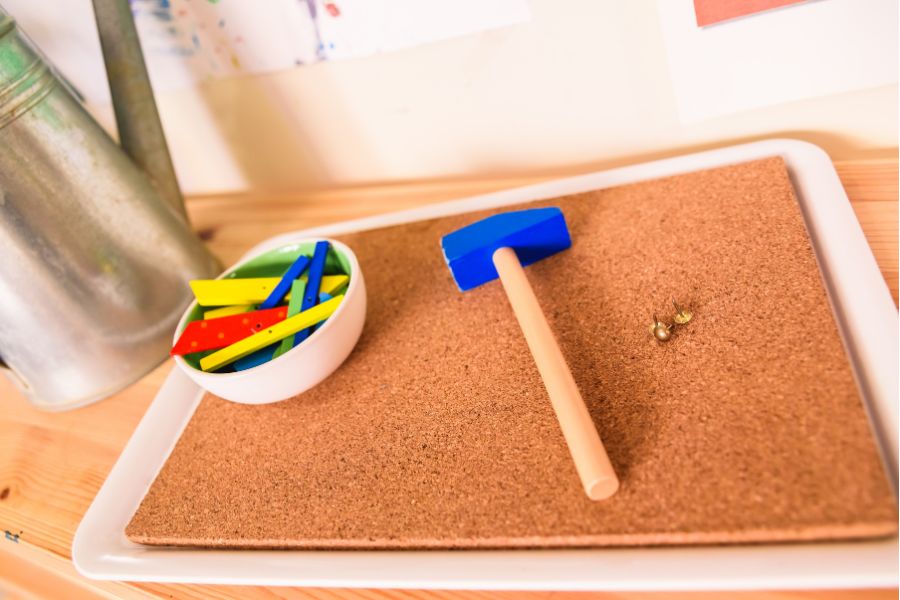
12. Hammering Toys
Skills
- Fine motor skills
- Concentration
- Motor planning
- Hand-eye coordination
- Arm and hand strengthening
Materials & Supplies
- Egg carton or a thick but small box
- Wooden toy mallet
- Long nails or screws (only when used under adult supervision)
- Wooden sticks or bamboo straws
Procedure
- Punch small holes in the egg carton or small box.
- Fit the nails, screws, sticks, or bamboo straws in. Be sure to check for splinters on the wooden sticks or bamboo straws.
- Let your child hammer these things into the box or egg carton with a wooden toy mallet.
Tip: You can also use a corkboard or thick plywood or wood slab for this toy, but you’ll need to pre-drill the holes in the thick plywood or wood slab to make this toy work.
13. Nesting Toys
Skills
- Shape and size recognition
- Problem-solving skills
- Visual discrimination
- Critical thinking skills
- Visual and spatial perception
Materials & Supplies
- Objects of about the same shape in different sizes (such as lids of different containers or jars)
- Wooden tray (optional; for arranging the shapes)
Procedure
- Clean the objects and check for possible hazards, such as sharp sections that can cause laceration risks.
- Let your child discover how they can “nest” inside each other. This works like a reverse stacking toy.
14. Velcro Shapes Or Zipper & Latch Busy Board
 (source: instagram.com / @busybeessl)
Skills
- Fine motor skills
- Cognitive skills
- Practical life skills
- Pincer grasp
Materials & Supplies
- Cloth, canvas, or craft board
- Latches
- Zippers
- Buttons
- Velcro
- Ribbons or cords
- Glue or sewing materials
- Scissors
Procedure
- Gather the supplies and attach them to the canvas, cloth, or craft board using glue or sewing materials.
- Double-check to ensure that the buttons are tightly sewn on the cloth pieces. If using strings, ribbons, or cords, ensure that they aren’t too long (can cause strangulation risk).
- Let your child play with the busy board, but be sure to regularly check for loose parts that can become choking risks.
15. Mailbox Or Coin Insert Toy
Skills
- Pincer grasp
- Problem-solving skills
- Object permanence concept
Materials & Supplies
- Wooden coins
- Cardboard box or container
- Wooden tray
Procedure
- Make holes in the cardboard box or container, large enough to let the wooden coins through.
- You can also fashion a drawer under the container or box to make it easier for your child to open it and get the toy coins inside.
Tip: Beware of choking risks. Be sure the coins are at least 1 ¼ inches (3 cm) in diameter.
16. Ribbon-Pulling Toys Or Tugging Box
Skills
- Pincer grasp
- Fine motor skills
- Cause-and-effect concepts
Materials & Supplies
- Cylinder or an empty canister
- Ribbons (it’s best to pick different colors and textures)
- Colorful construction paper (sticker sheets or adhesive construction paper can make this craft easier to make)
- Scissors
- Glue
Procedure
- Wrap the canister or cylinder with construction paper.
- Punch holes in the sides of the cylinder.
- Cut the ribbons to about 10-12 inches in length.
- Insert the ribbons inside a hole on one side and let it through another hole on the opposite side.
- Tie the ribbons’ ends into a thick knot.
17. Threading & Sewing Toys
Skills
- Concentration
- Fine motor skills
- Problem-solving skills
Materials & Supplies
- Things for threading (e.g., toilet paper rolls, elbow or penne pasta pieces, etc.)
- Cardboard (you can also use paper plates or used boxes)
- Strings, ribbons, or cords
- Pipe cleaner
Procedure
- If using cardboard or similar materials, you can punch holes that your child can use for threading.
- Tie the string or ribbon to one end of the pipe cleaner.
- Use the pipe cleaner to thread the ribbon or string through the holes in the cardboard box or the other materials you prepared for threading.
Safety tip: Be wary of choking or strangulation risks if used by children younger than three years old. Always use it with adult supervision.
18. Straw Or Stick Insert Toys
Skills
- Fine motor skills
- Problem-solving skills
- Concentration
Materials & Supplies
- Bamboo straws or wooden sticks
- Toilet paper rolls
Procedure
- Punch holes around the toilet paper roll.
- Let your child insert the straws or wooden sticks through the holes from one side to a hole on the opposite side.
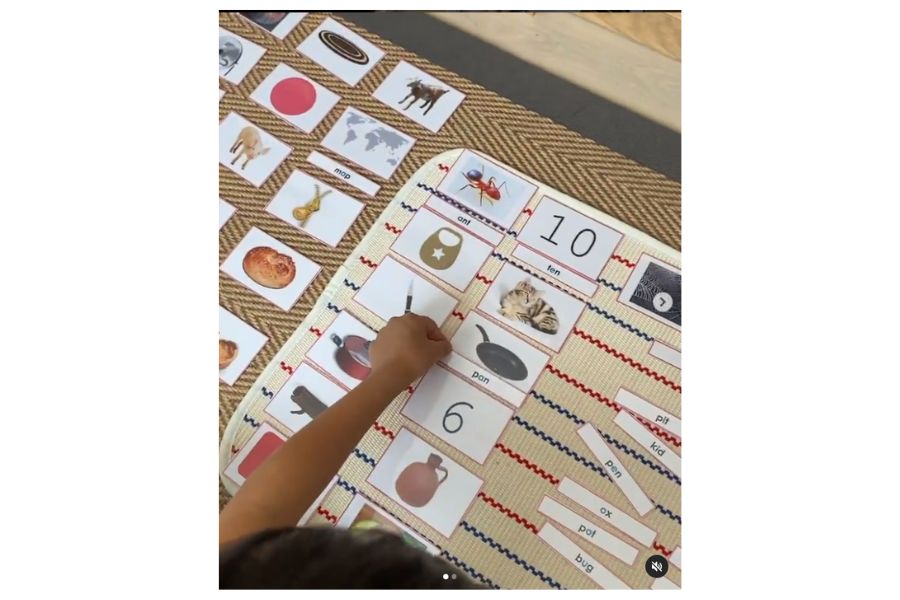
19. DIY Number Board & Activity Box
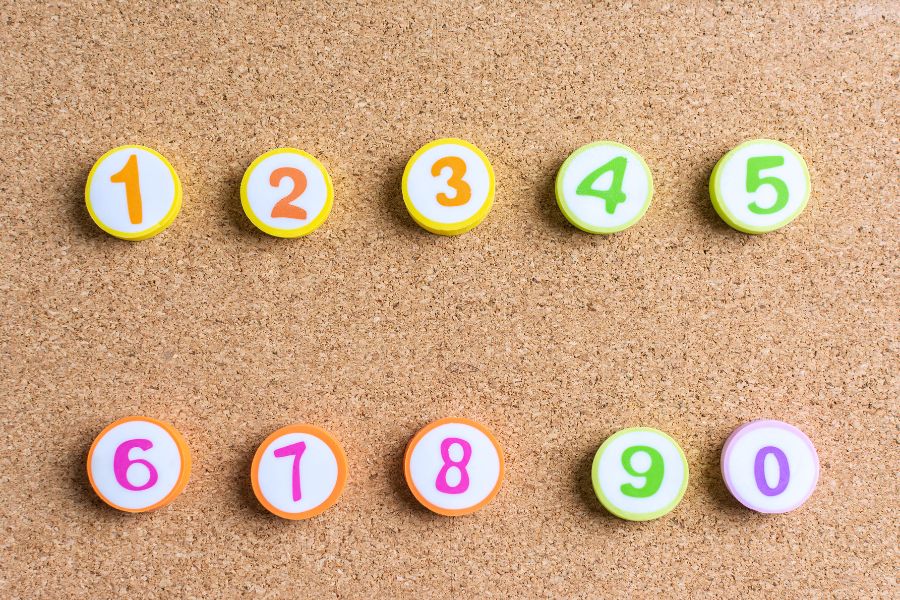
Skills
- Number recognition and sequencing
- Cognitive skills
Materials & Supplies
- Wooden tray, plywood board, or thick cardboard (you can also use a box or egg carton)
- Wooden coins or balls (you can also use bottle caps or container lids)
- Markers
Procedure
- Smoothen the sides of your wooden board or clean the used box/carton.
- Number the wooden coins or the other things you gathered for this toy.
- Let your child arrange the numbered pieces on the board or egg carton.
Tip: Always check for splinters on the wood or choking risks (bottle caps or wooden coins).
20. Toys For Scooping & Pouring
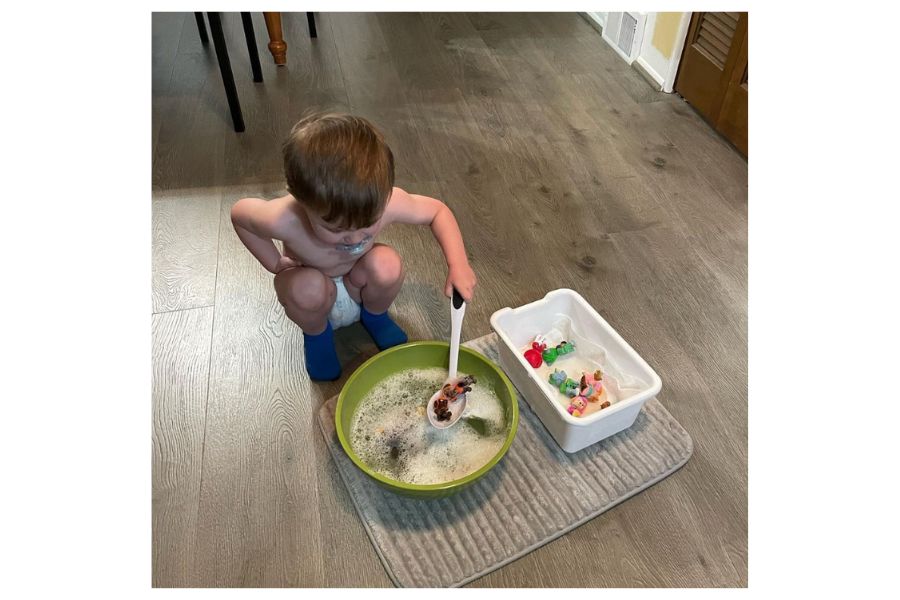 (source: instagram.com / @jessica.south_)
Skills
- Fine motor skills
- Dexterity
- Hand-eye coordination
- Concentration
Materials & Supplies
- Bowl of objects for scooping (e.g., popcorn, salt, beans, etc.)
- Smaller bowls
- Tray or box
- Scoop (can also be a ladle from your kitchen)
Procedure
- Arrange the materials on a tray or box that can help catch the spills to minimize clutter.
- Let your child scoop the materials from the bigger bowl to the smaller ones using their hands or a scooping tool.
Tips: Beware of choking risks. Always supervise your children when they’re using this DIY toy.
21. Peek-A-Boo Activity & Sensory Board
Skills
- Sensory learning
Materials & Supplies
- Small boxes, containers, or a board
- Different materials with varied textures (e.g., fuzzy pipe cleaners or craft materials, sponge, sandpaper, soft cloth, etc.)
- Scissors
- Glue
Procedure
- Cut the materials and glue them at the bottom of the small boxes or on a board (put spaces between the different items).
- If you’re using a board, you can also glue some used baby wipes lids to create a peek-a-boo board.
- Let your child explore the materials inside the boxes or the peek-a-boo board and try to identify their textures.
DIY Toys For Practical Life Skills
22. Washing Fruits & Veggies
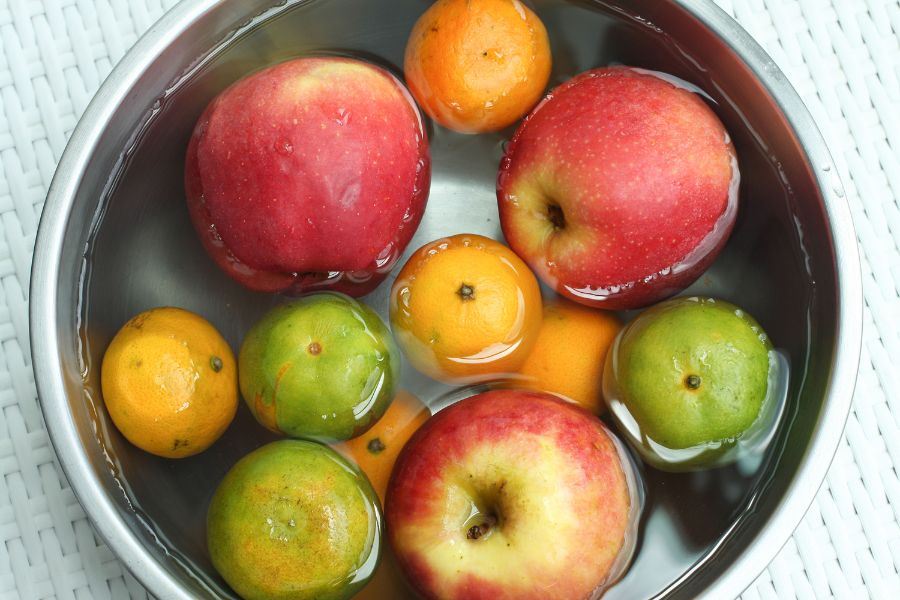
Skills
- Practical life skills
- Cleaning things
Materials & Supplies
- Objects they can use for cleaning (e.g., veggies, fruits, etc.)
- Bin or basin with water
- Sponge or brush
- Towels or colander
Procedure
- Teach your child to clean the fruits and vegetables inside the bin.
- Let them place the clean items on the towels or colander to dry.
23. Child-Sized Cleaning Toys
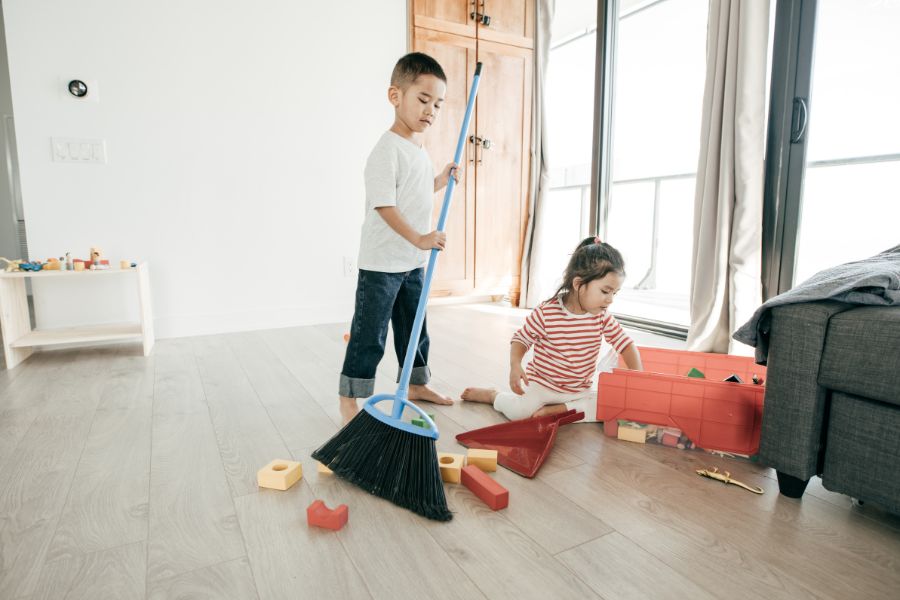
Skills
- Practical life skills
- Gross motor skills
Materials & Supplies
- Cleaning supplies
- Saw, scissors, or other cutting materials
- Sandpaper
- Wooden child-sized caddy
Procedure
- Shorten a broom or mop using your child’s height as a reference.
- Be sure to smoothen the cut edges using sandpaper.
- You can also cut rags and sponges to make them easier for your child to grasp.
- Let them clean the house using these adjusted, child-sized cleaning tools.
24. DIY Shoelace Tying Guide
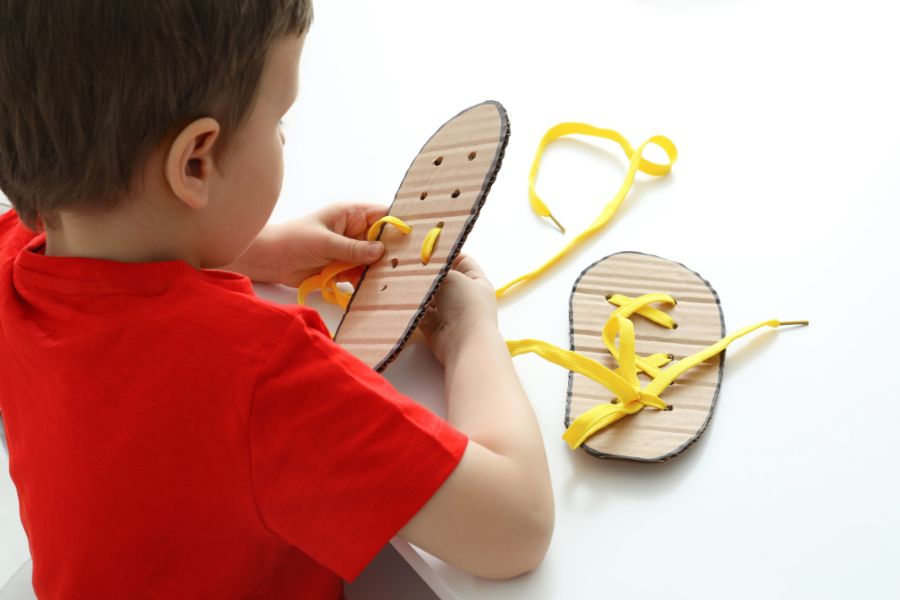
Skills
- Practical life skills
- Problem-solving skills
- Fine motor skills
Materials & Supplies
- Cardboard, used box, or plywood material
- Extra shoelaces, ribbons, or cords
- Markers
- Glue
Procedure
- Draw a shoe on the cardboard, box, or plywood using your child’s feet as a guide.
- Punch holes in the parts where the shoelaces are supposed to go.
- Teach them to thread the shoelace into the shoes and tie them in the correct knot.
25. DIY Climbing Toys

Skills
- Balance
- Coordination
- Gross motor skills
- Self-confidence
Materials & Supplies
- Blueprints (you can get printables from ETSY)
- Woodworking materials
- DIY construction tools (e.g., hammer, saw, drill, nails and screws, wood glue, sandpaper, etc.)
- Non-toxic sealant or paint
Procedure
- Using the blueprints, cut out the wooden pieces. Smoothen the edges using sandpaper.
- Pre-drill the holes to ensure that the wood doesn’t split when you drive the screws or hammer the nails in.
- Double-check the nails and screws to ensure they’re fully driven into the wood without sharp ends.
- Smoothen all parts using sandpaper.
- You can leave this in its natural state or use a non-toxic sealant or paint to brighten up your climbing toy.
26. Matching Cards
 (source: instagram.com / @montessori_homeschooling_uk)
Skills
- Cognitive learning
- Memory
Materials & Supplies
- Printable photos of real-life objects or things
- Cardboard boxes
- Printer
- Bond paper or sticker paper
Procedure
- Find printable photos of real-life things or objects related to each other (e.g., sets of photos for the Christmas season or fall/autumn, sets of animals and their babies, etc.)
- Choose the size you want to print them (it might be ideal to print each photo in ¼ of a long-size bond paper for each image or four images per page).
- Print the photos. For this project, you can opt for bond paper, construction paper, or even sticker paper.
- Let your child mix and match the cards based on their similarities or differences, depending on your chosen photos.
Tip: You can also opt to laminate the images for durability.
27. Sensory Boxes Filled With Natural Objects From Your Yard
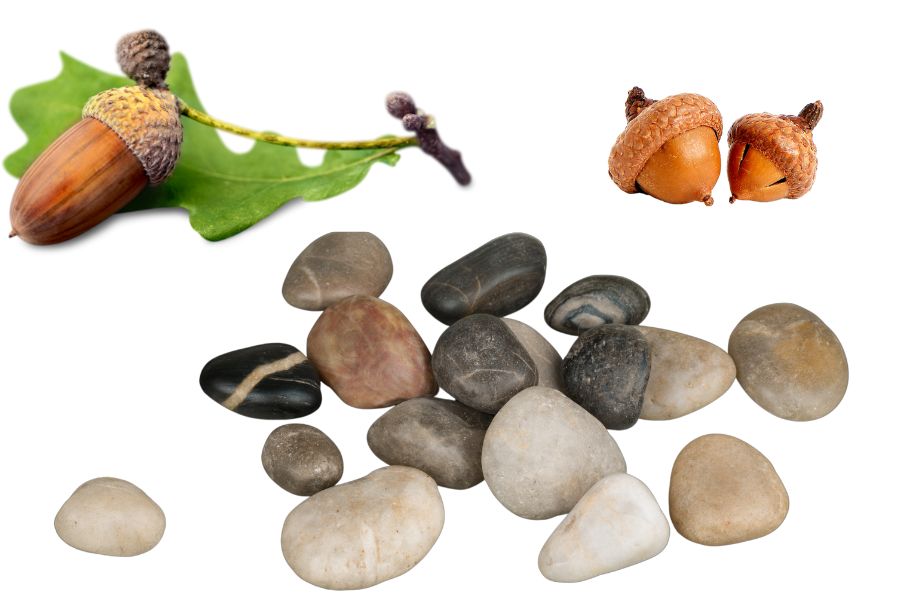
Skills
- Sensory
- Practical learning
- Fine motor skills
- STEM learning
Materials & Supplies
- Small boxes or containers
- Things in your yard or collected from nature (e.g., pebbles and leaves of varying sizes and textures, acorns, sticks, etc.)
Procedure
- Gather the materials from nature or let your child collect these items on a nature walk.
- Place them in small boxes or containers, arranged according to texture or size.
Safety tip: Check for choking risks or other hazards.
Other Homemade Montessori Activities To Make With Printables & Natural Materials
- DIY Kaleidoscope Toys
- Salt Sensory & Writing Tray
- Sensory Bins & Bottles
- Wallet With Used Or Expired Cards
- Paper-Tearing Activities
- DIY Wooden Toys
Gift Guide: High-Quality Toys For Montessori Education
The following are some toys we recommend for Montessori schools and playrooms at home:
LOVEVERY
- Subscription boxes (e.g., The Thinker Play Kit or The Investigator Play Kit)
- Play Gym
- The Block Set
KiwiCo Toys
- Subscription boxes (e.g., Panda Crate, Koala Crate, or Kiwi Crate)
- Cell Shape Sorter
- Marble Run + Art Easel
Hape Toys
- Counting Stacker Wooden Stacking Block Set
- Rainbow Pounder
Elm + Otter
- Egg and Cup Sorting Set
- Nature Number Flashcards
- Felt Alphabet Letter & Flashcard Bundle
Montessori & Me
- Ball Tracker
- Counting Peg Board
- Coin Box
Other Learning Toys For Different Age Groups
- Baby toys
- Best educational toys
- Educational toys
- Educational baby toys
- Educational toys for toddlers
- Educational toys for 2-year-olds
- Educational toys for 3-year-olds
- Educational toys for 4-year-olds
- Educational toys for 5-year-olds
- Educational toys for 6-year-olds
- Educational toys for 7-year-olds
- Educational toys for 8-year-olds
- Montessori baby toys
- Montessori climbing toys
- Montessori toys
- Montessori toys for toddlers
- Montessori toys for 1-year-olds
- Montessori toys for 3-year-olds
- Montessori toys for 4-year-olds
- Montessori wooden toys
- Outdoor toys for 1-year-olds
- Toys for 1-year-olds
- Toys for 2-year-olds
- Toys for 6-year-old boys
- Wooden educational toys
Toy Recalls To Monitor
- Calico Critters recall (2023)
- Kids Preferred recall (2023)
- Target Toy recall (2022)
- Haba recall (2022)
- Kidoozie Play Tent recall (2022)
- Monti Kids recall (2022)
References
(1) https://amshq.org/About-Montessori/History-of-Montessori/Who-Was-Maria-Montessori
(2) https://kidshealth.org/en/parents/safetoys-young.html